Polymer Clay & Alcohol Inks Experiment

P1140013

Last year I discovered Adirondack Alcohol Inks and since then I have been incorporating them into lots of my designs.  All you have to do is apply a couple of drops to white or translucent polymer clay, allow the ink to dry fully, then mix it in together with the clay to create a new shade. An alternative use is combining it with Fimo liquid gel, applying it to baked pieces with a thin brush, then baking again for around 15-20 mins (or you can use a heat gun, but you have to be careful not to cause a ripple or run off). You can make some very colourful pieces this way, especially if you like enamel looking items, which I do.

The only thing you need to be aware of, especially if mixing with white or translucent clay is that the colours can change once baked and don’t try mixing the inks together to create other colours, because all you will get is muddy brown!  I conducted my own little experiment last year when I first tried them to see how much they changed and if the thickness of the clay mattered, this was done using translucent clay as I also wanted to see how opaque they were.

I totally forgot to share it on my blog then, but better late than never, if you are interested here are the results of my little experiment.

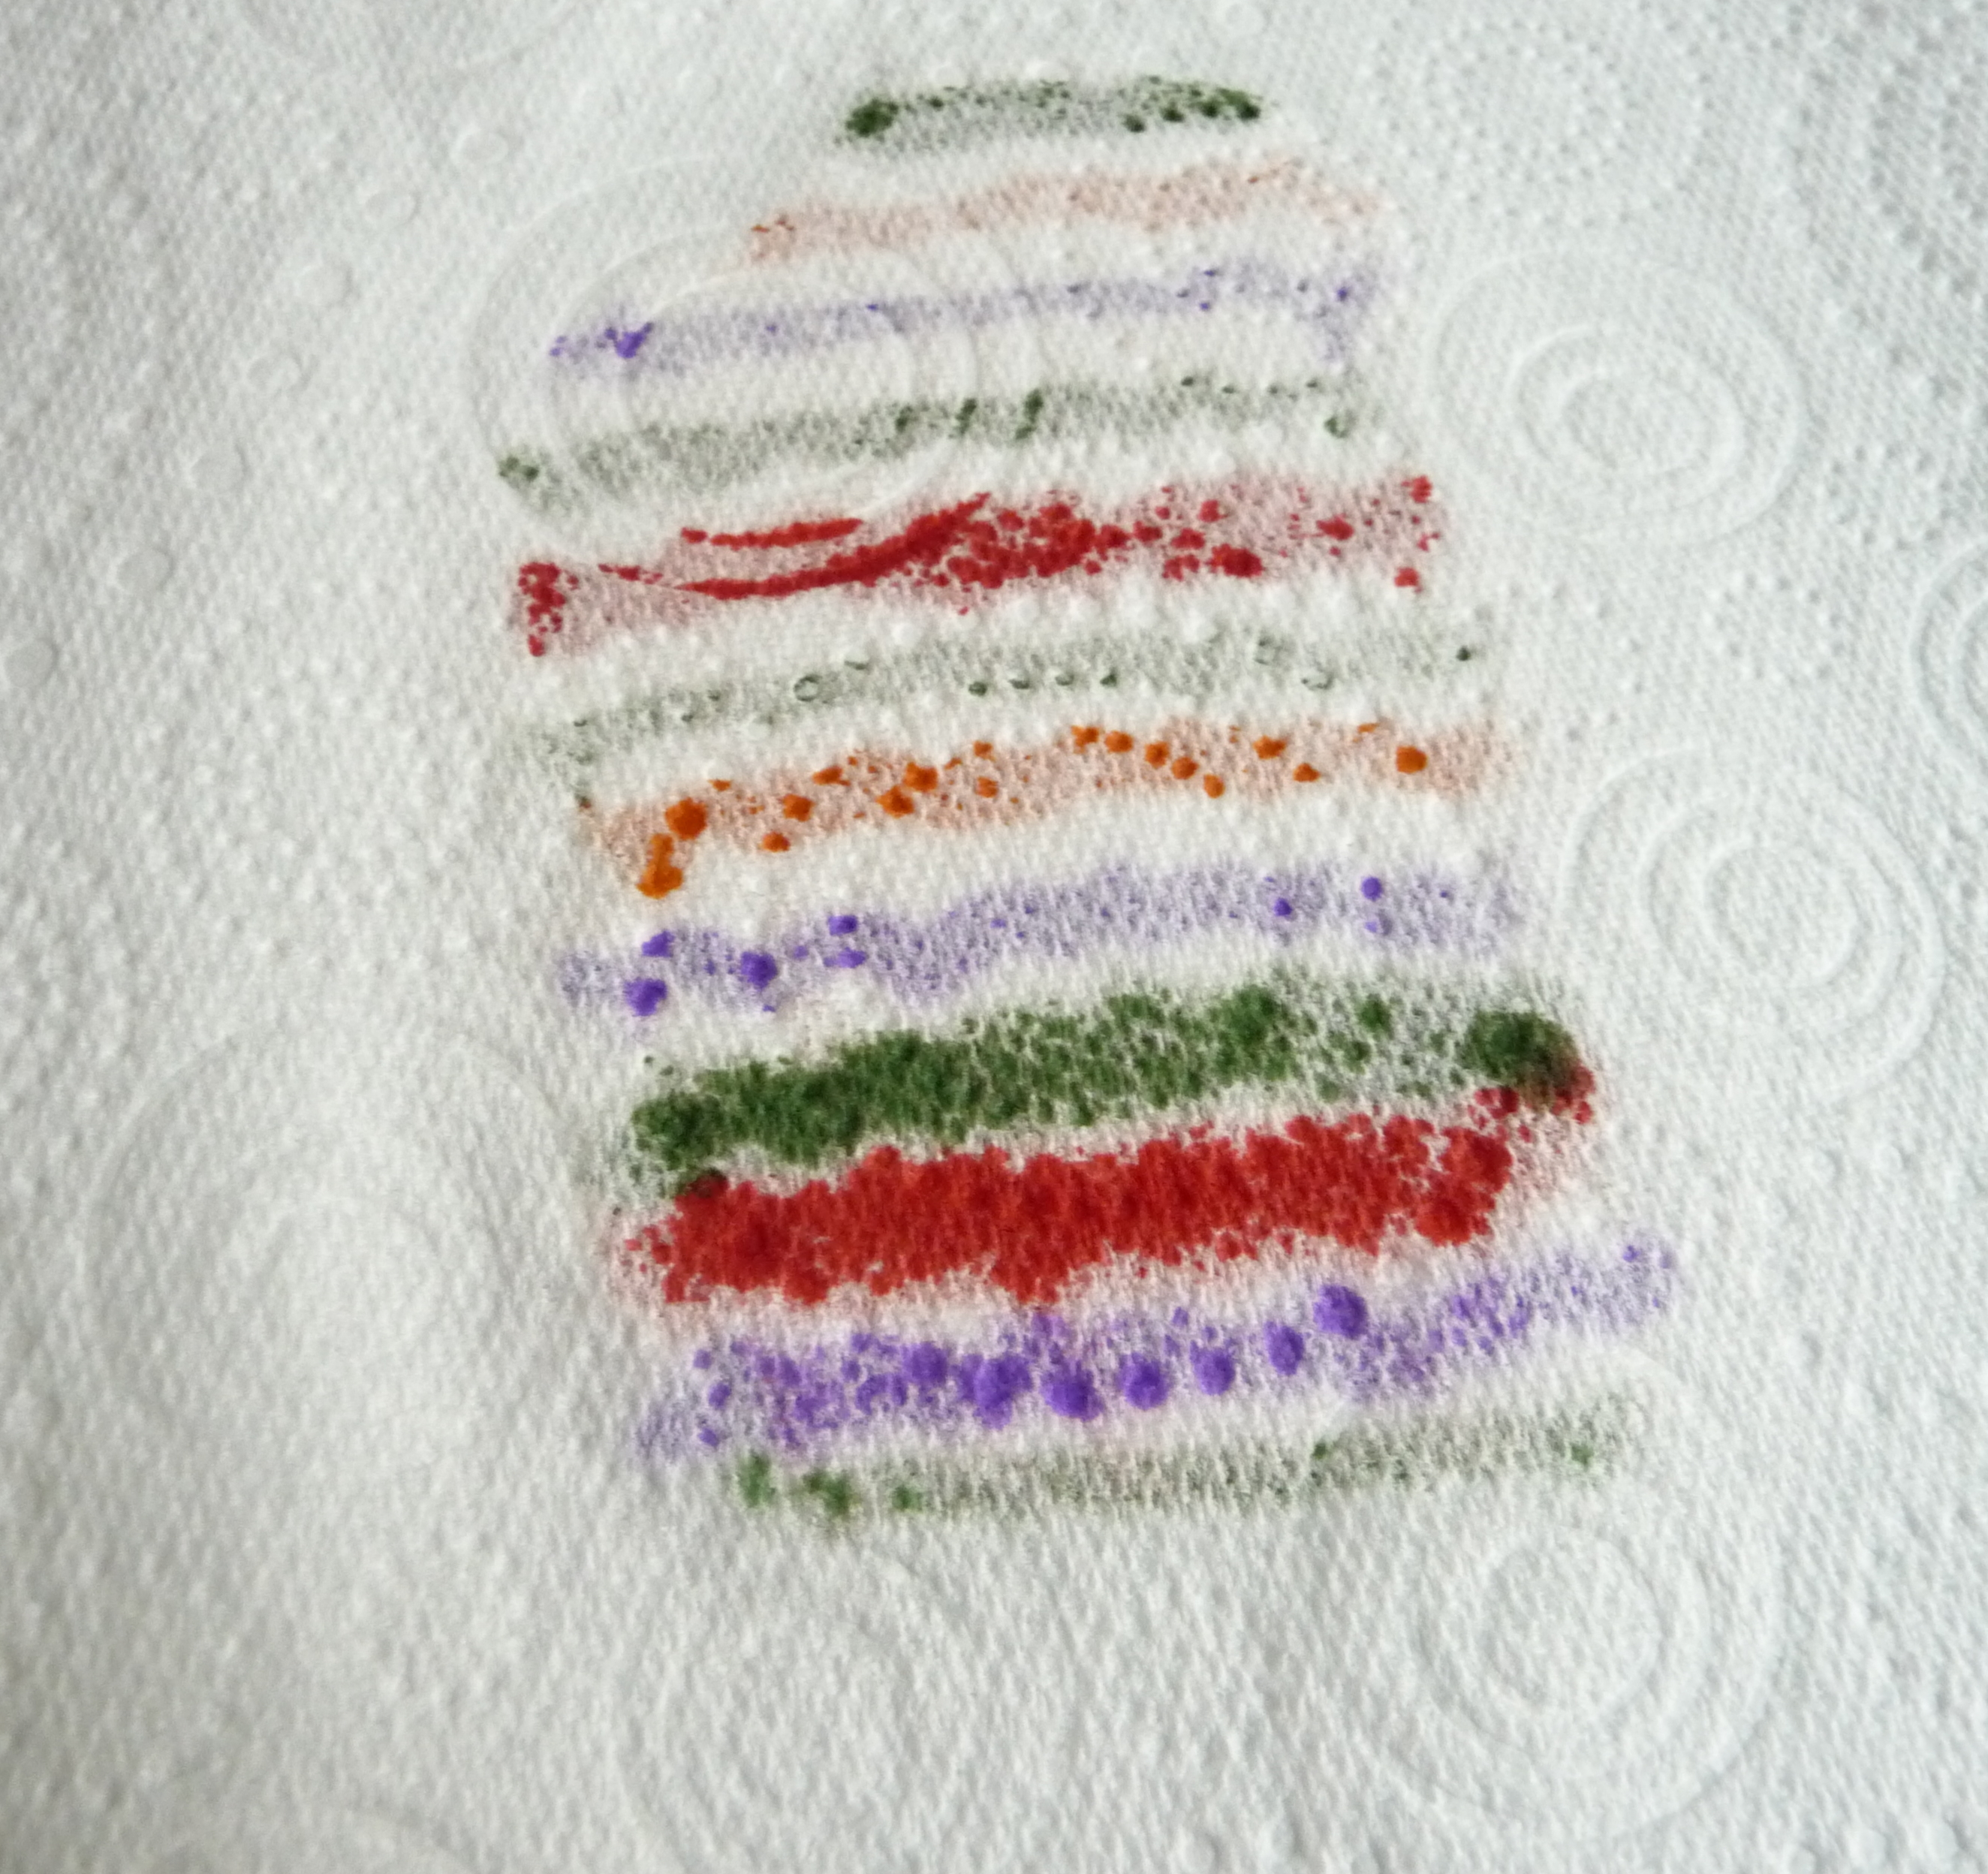
The coloured inks I used are: Wild Plum, Purple Twilight, Aqua, Denim, Red Pepper, Mountain Rose, Citrus and Pitch Black (see picture above).  I have since added to this selection of colours.

I added 1 drop of each ink to small pieces of Fimo translucent clay, I allowed the clay to dry, then mixed the ink into the clay.  I then rolled the pieces of clay out on the thickest setting of my pasta machine and used a 15mm circle cutter to cut out a circle from each.  I then put the clay back through the pasta machine but on the thinnest setting and cut out more circles.  I also did the same with some un-coloured translucent clay.  I then baked them all for 30 minutes as per the clay manufacturers instructions.
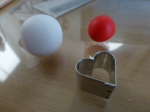
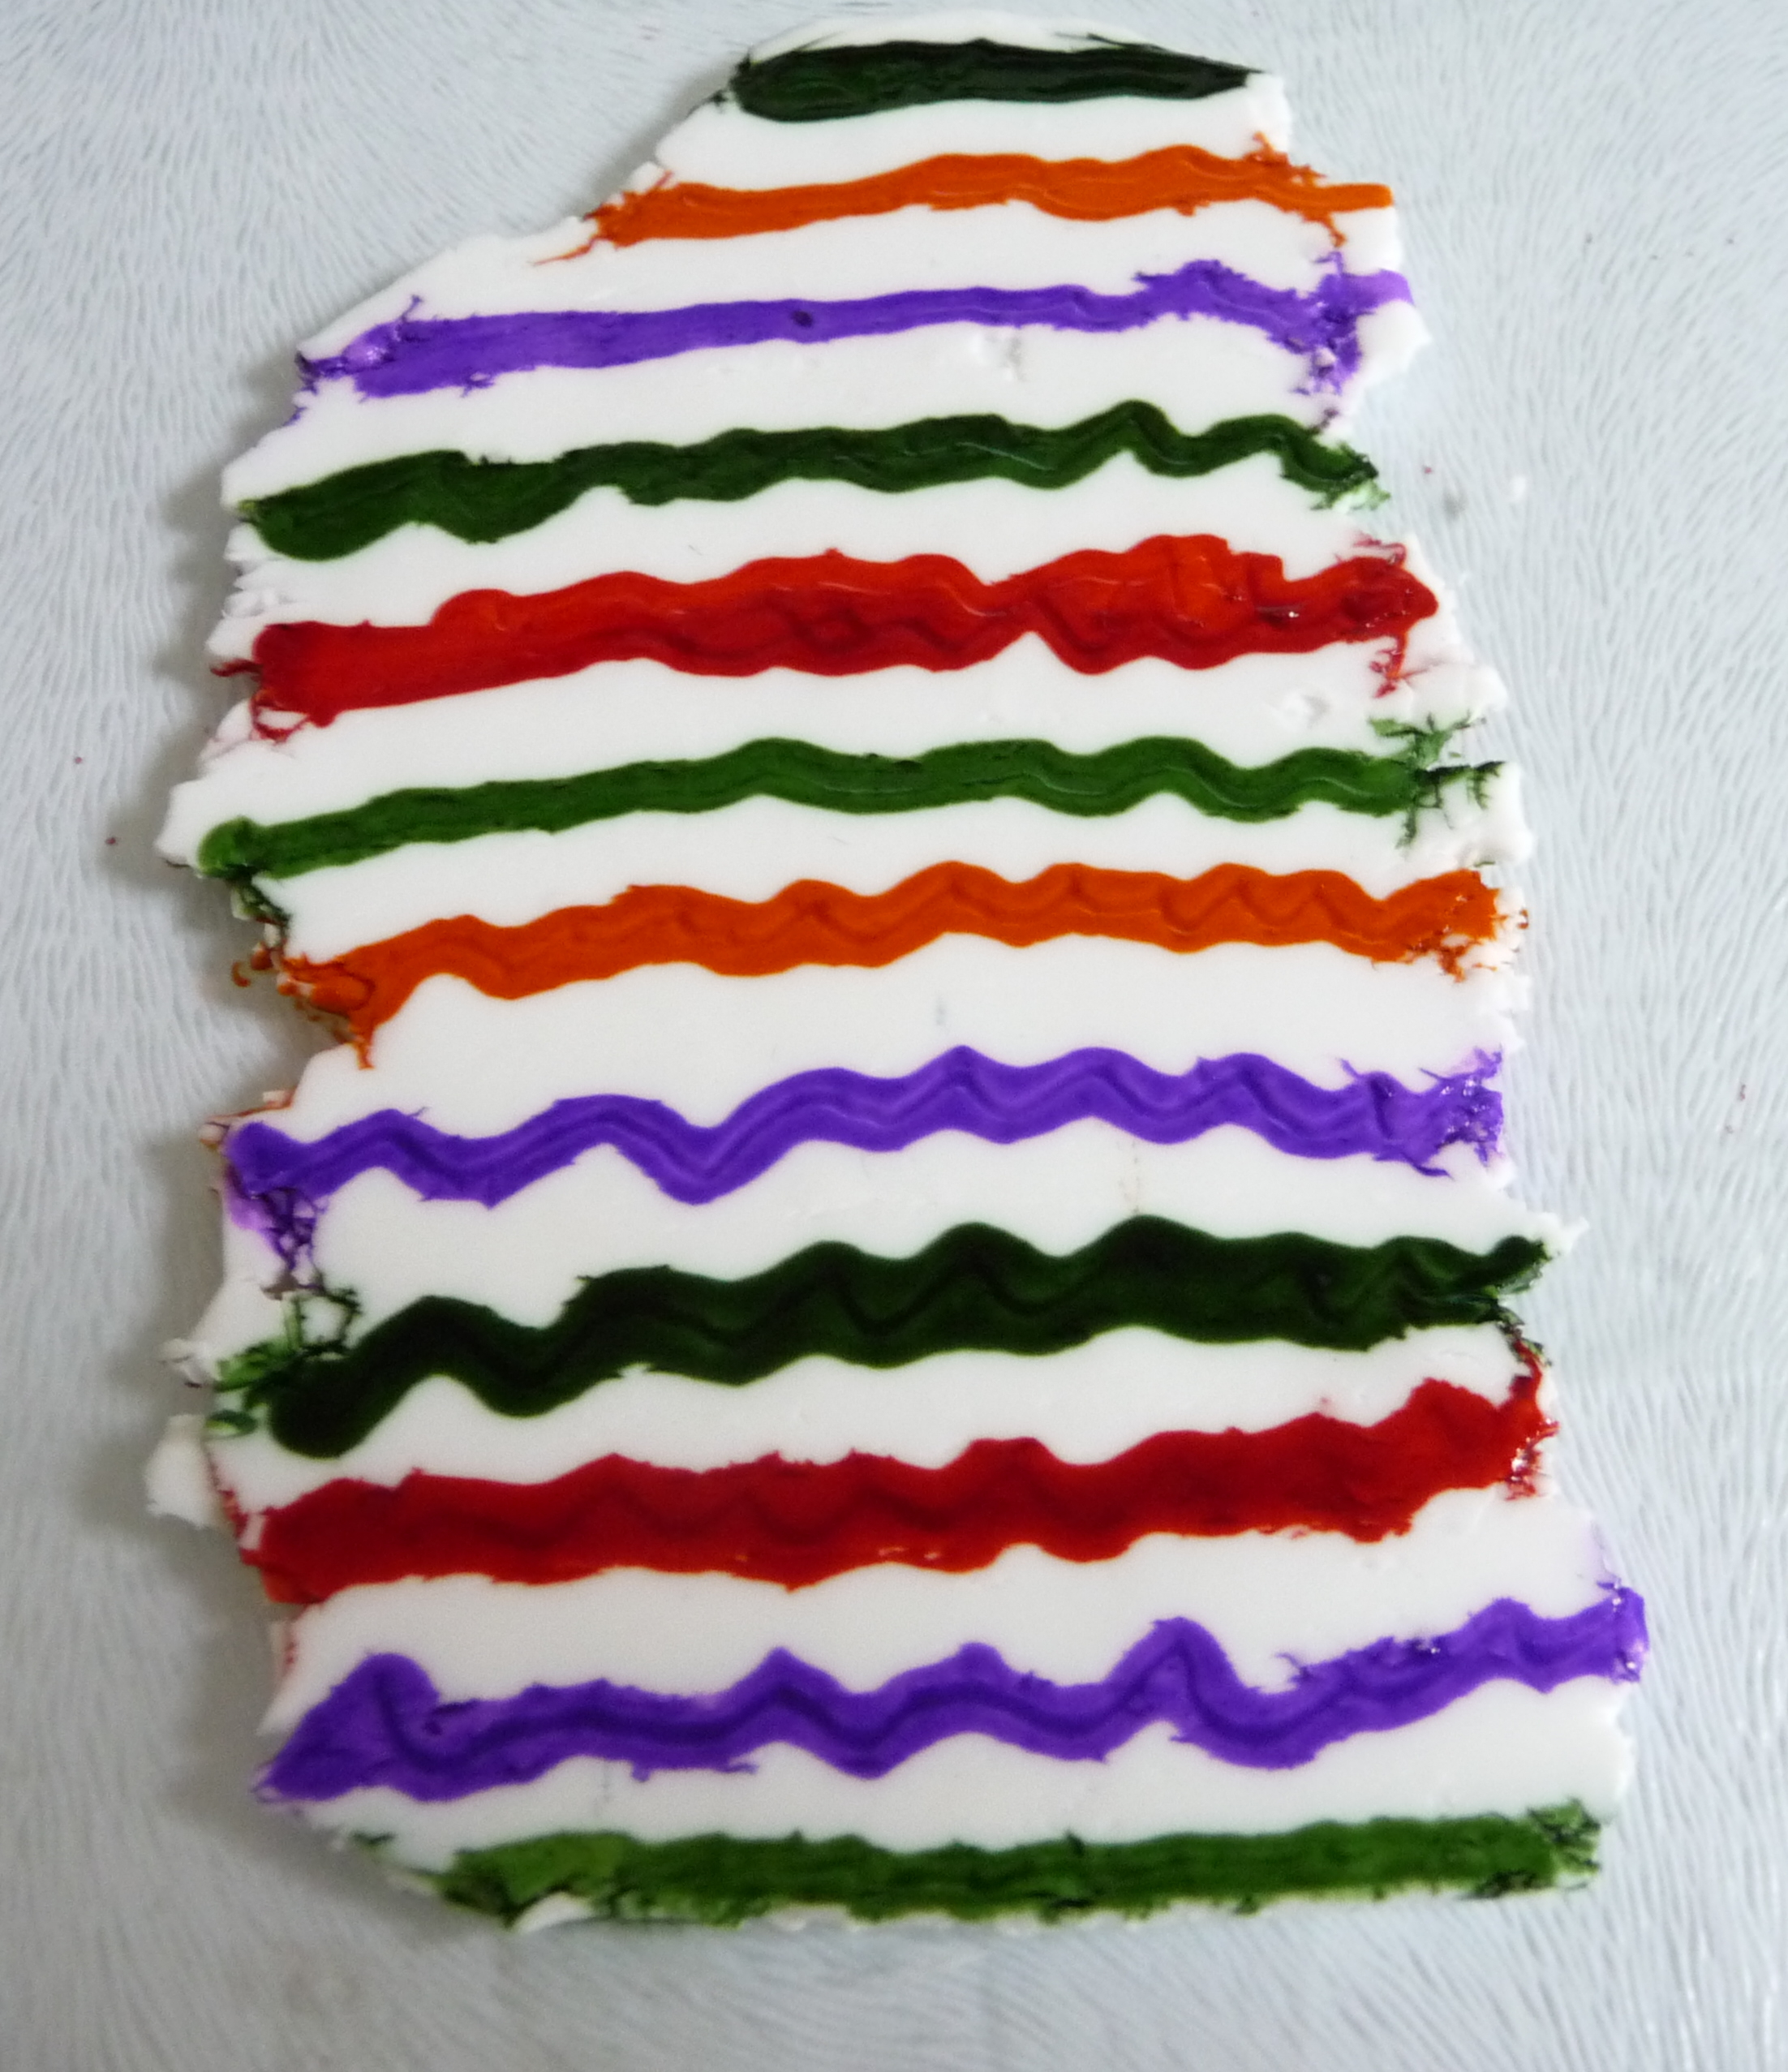
Clay before baking.

Here are the results showing the baked clay fat and thin pieces next to unbaked clay so you can see how much it has changed:

Lastly I thought I would show you the translucency of each piece.

I will let you draw your own conclusions from the results, but it is very clear to see the difference in the unbaked and baked colours and the thinner the clay the better the translucency. I must add you can darken or lighten these colours by adding more or less ink, but be careful you don’t add too much as it might not dry (a paper towel may come in handy here!).

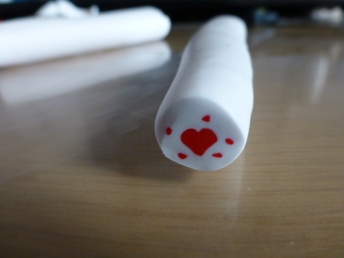
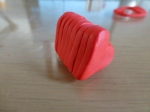
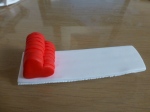
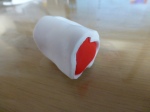
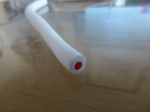
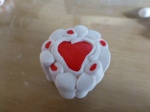
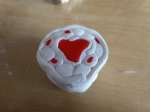
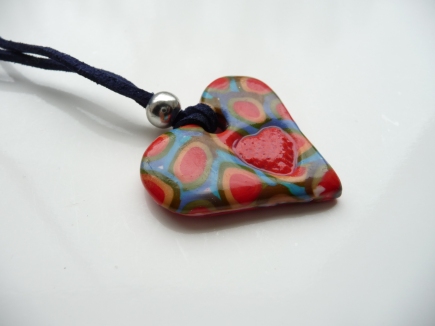
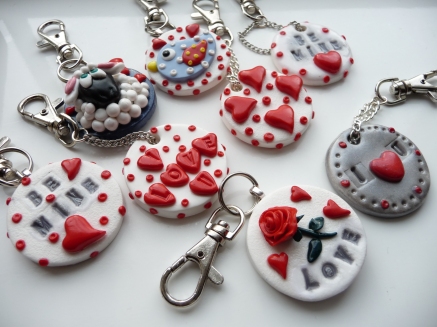
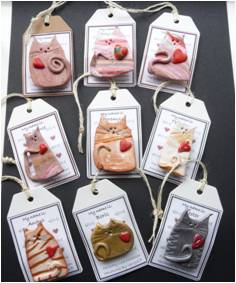
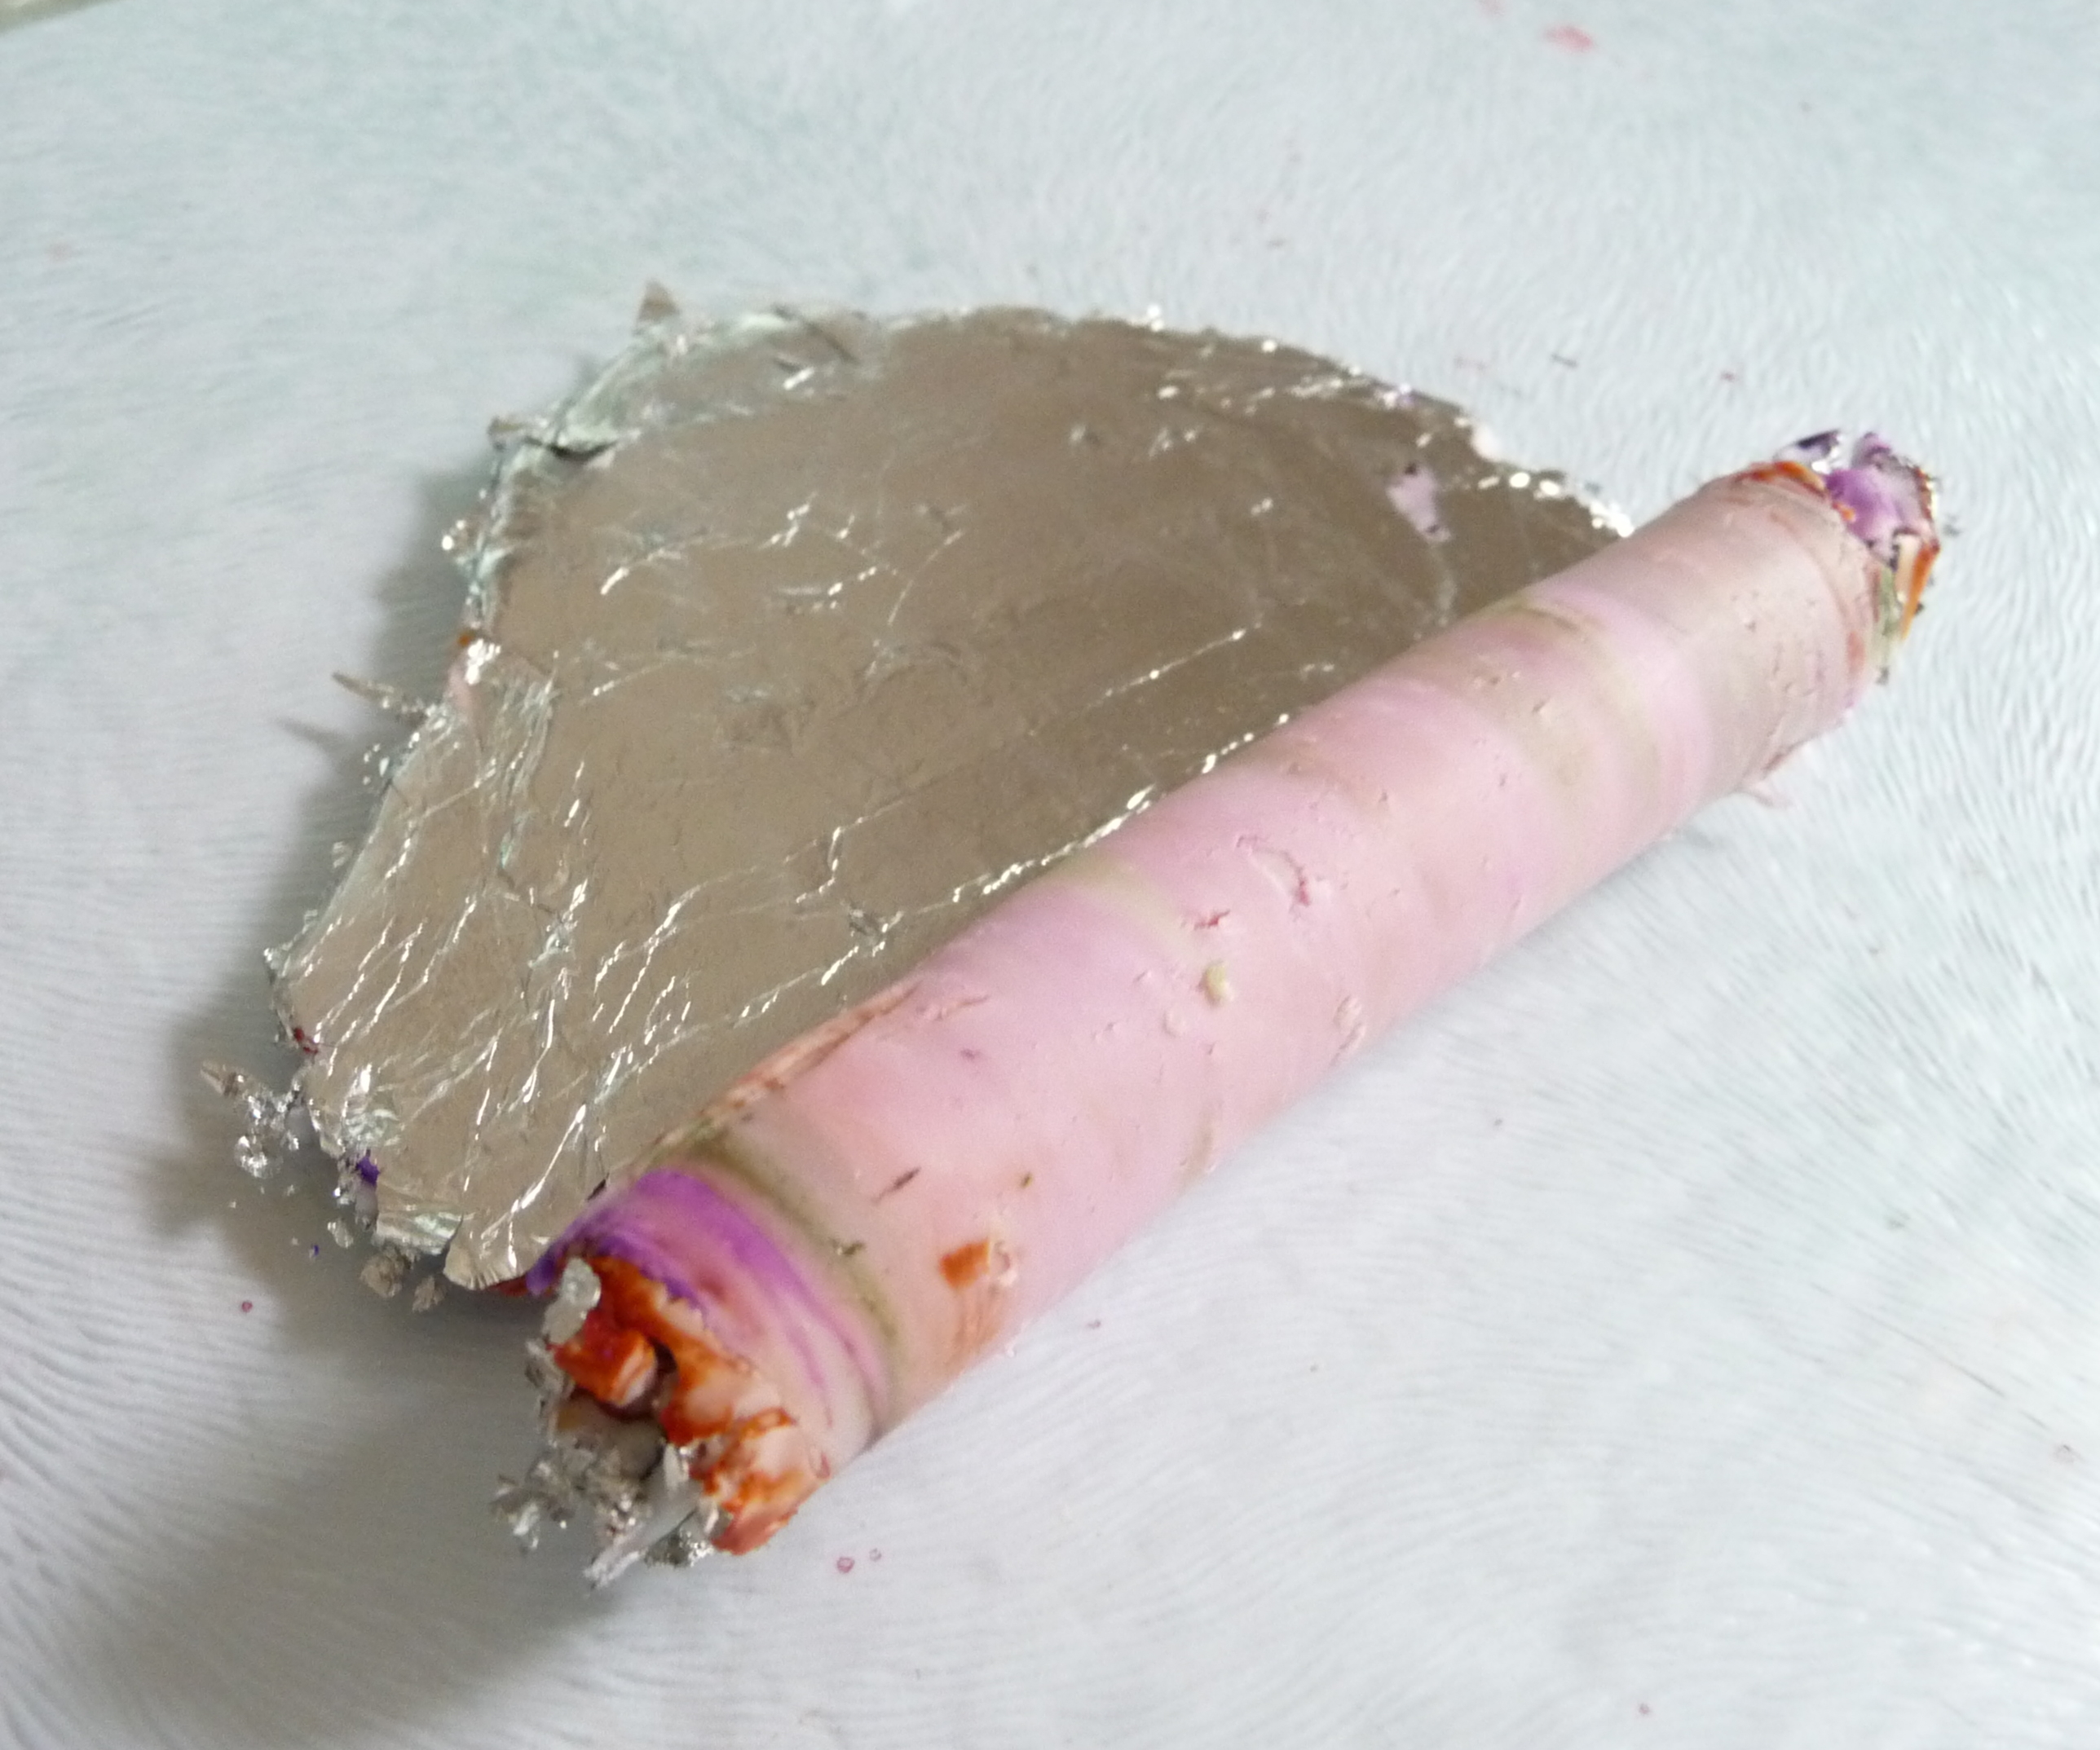
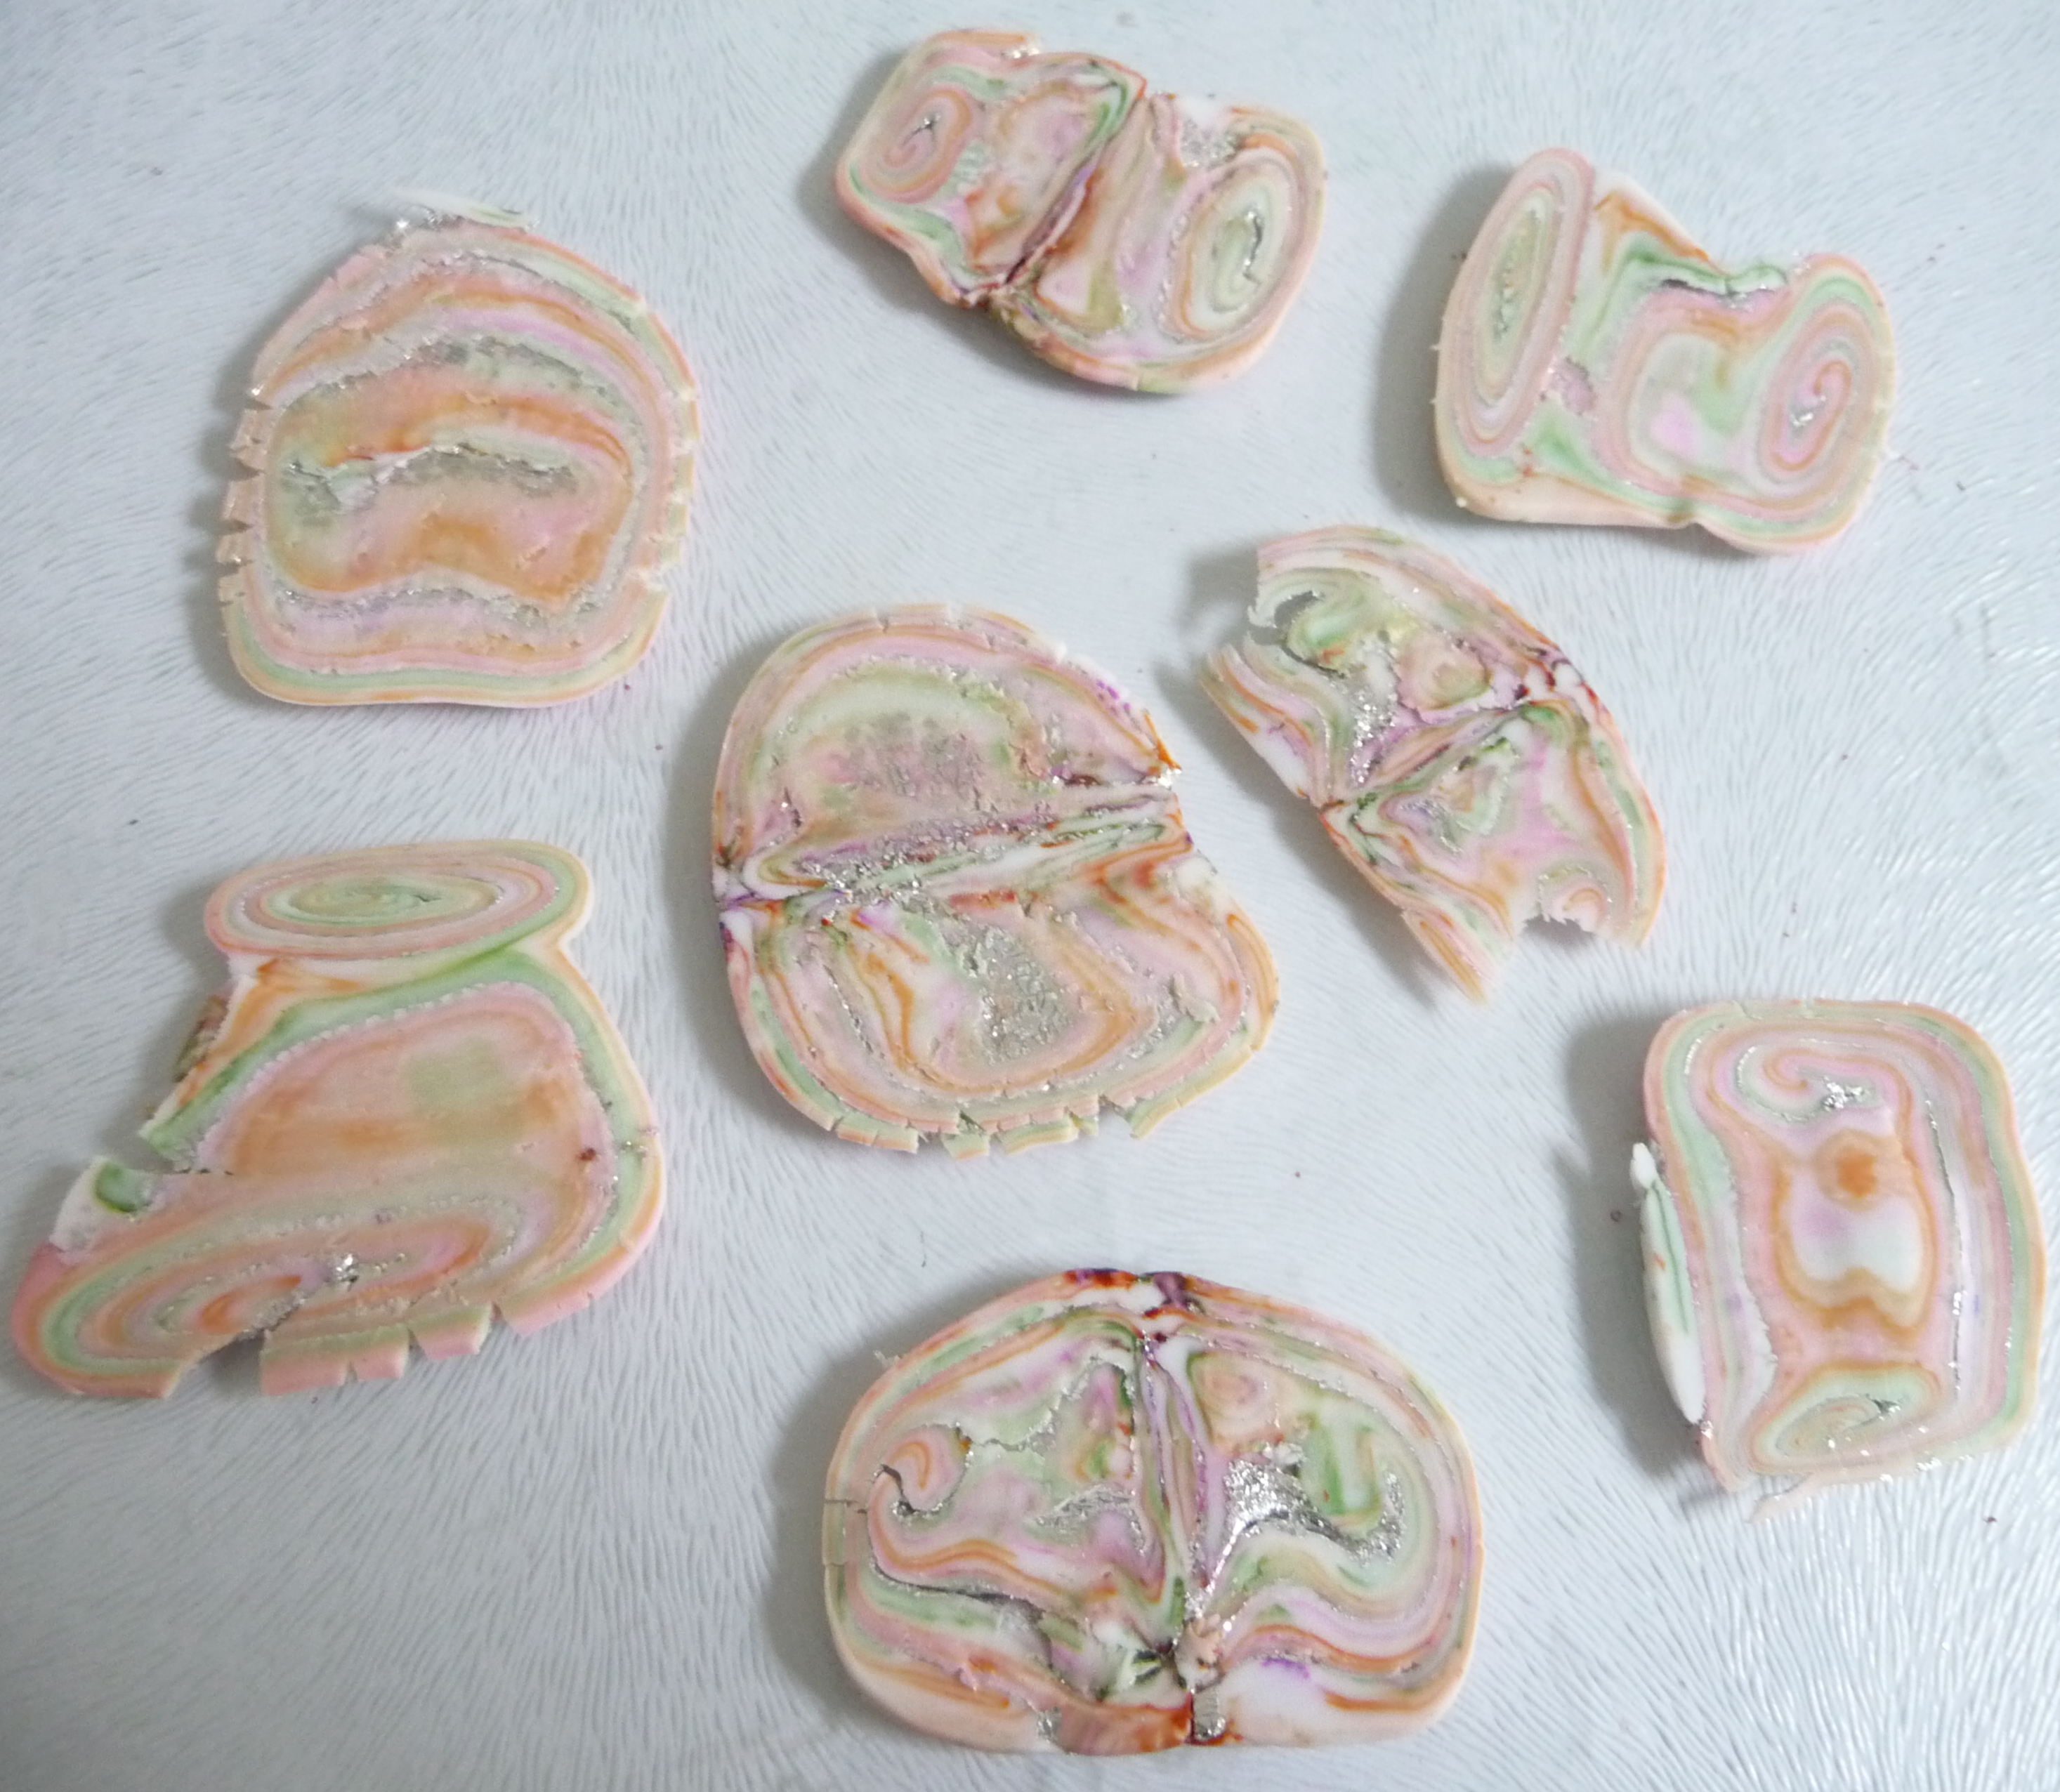
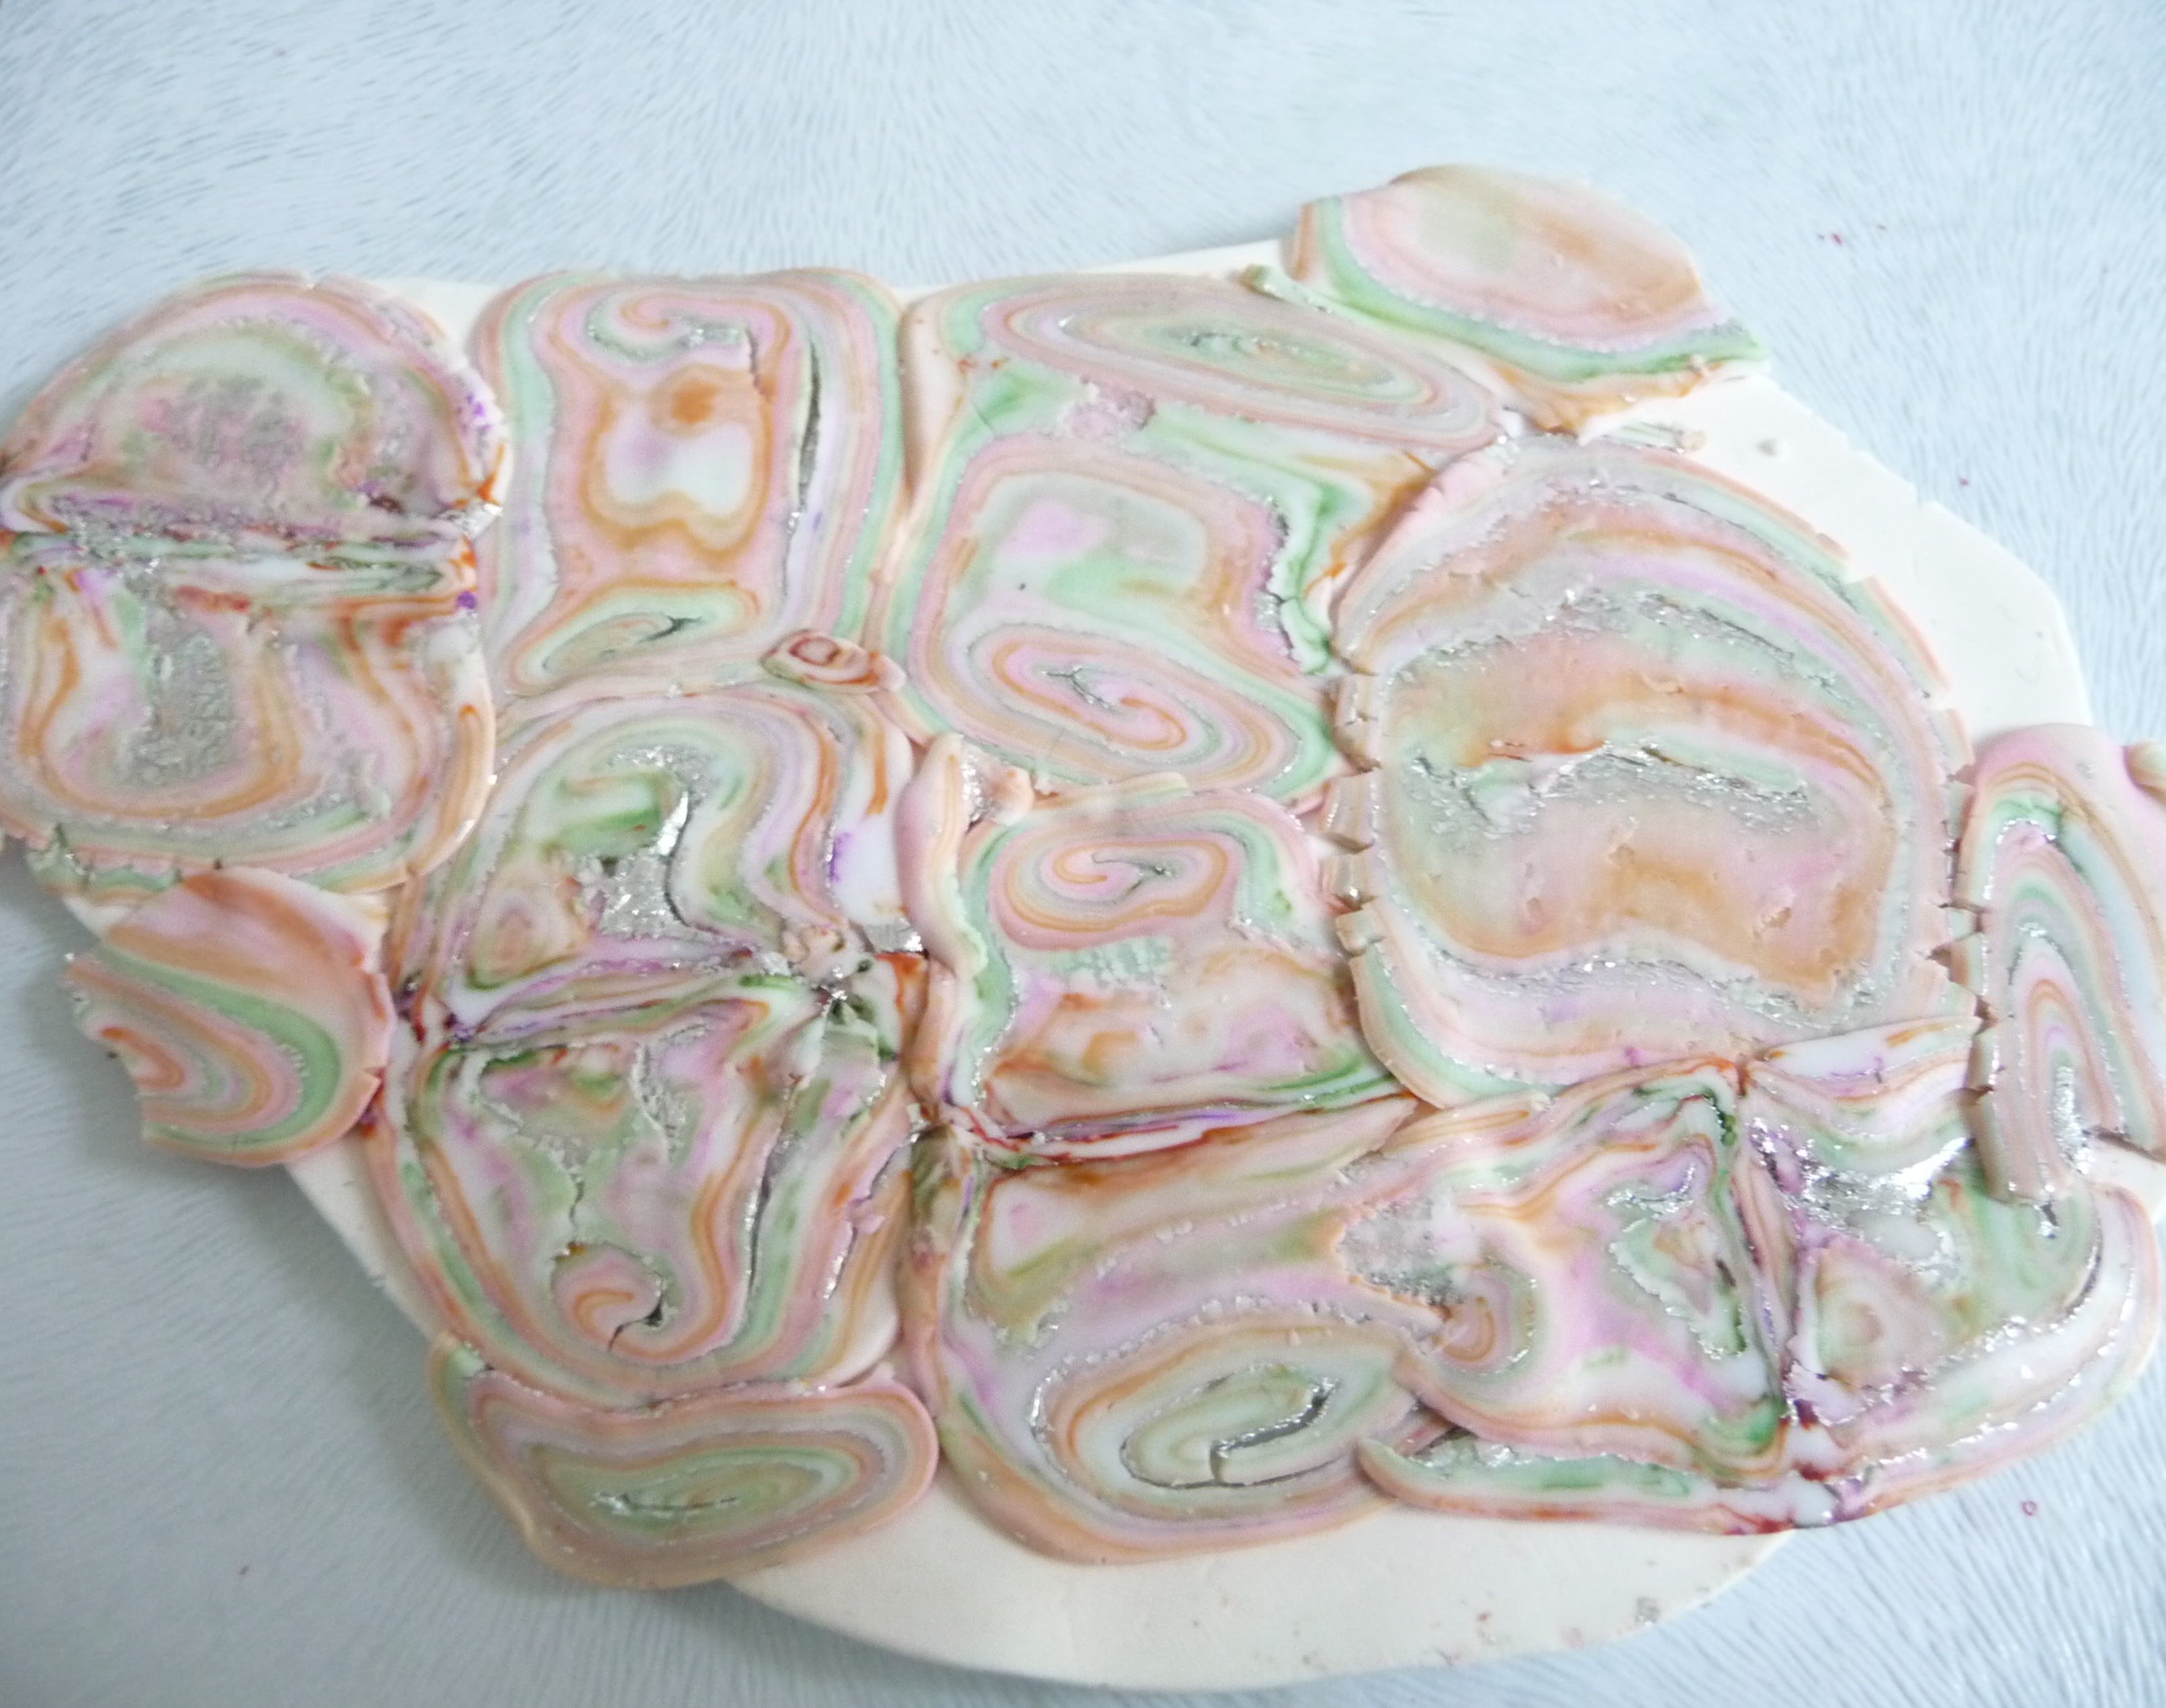
I will leave you with a few pieces that I have made using the alcohol inks, I also like using them over Rangers Perfect Pearls powders as this adds a nice shimmery effect.


Thanks for reading, any feedback or questions are always welcome.

Take care.

Georgia P

All Loved Up – Polymer Clay Valentine creations

P1140508

Valentine rose keyring

As this is my first blog post in quite a while, (many apologies),  I have decided to keep it simple and do a Valentine themed post, which is quite fitting seeing as it’s February and I have been making quite a few Heart/Valentine items recently.  I do work better when I am inspired.

All the creations have been created with Polymer clay and include; a very simple heart cane to use on beads which I hope you can follow, some heart themed pendants using textures and mixed colours, some Valentine key rings/bag charms, cat brooches, buttons and finally some hanging heart decorations.  I hope you like?

HEART CANE (mini tutorial)

P1010543

To start with I thought I’d share with you the very simple heart cane I made using only red and white polymer clay (I used Fimo Soft but any brand you are comfortable with is OK) and I used a small heart cutter (approx 25mm x 20mm).

  1. Roll out enough red clay to enable you to cut out approx 8-10 small hearts, (Use thickest setting on a pasta machine to save time or approx 4-6mm in depth).  Then stack them together. (pic 2).
  2. Next roll out the white clay on thickest setting of the pasta machine, cut to size of hearts (pic 3) then wrap around the clay hearts (pic 4).

3.  If you don’t want to put red spots around the heart then miss out adding the red clay and just roll plain white tubes.  Roll a piece of red clay and then wrap it in the white clay (I’m assuming you know how to do this?).  Cut into sizes to fit around the heart (Pic 6) and then fill in the gaps with pieces of plain white clay tubes (Pic 7) to give it a round appearance.  Then wrap the whole thing in more white clay.  Then reduce it’s size by rolling and stretching, ensuring you retain the tubular shape.  Cut and slice as required.

I haven’t got around to making much with this cane yet, apart from some buttons and trying out a couple of beads.

P1140520


PENDANTS

P1140496

After making the cane I decided to try playing with textures on clay and joining them together.  I also attempted to make some of my own texture molds from polymer clay (maybe another post soon about this). This lead me to making a number of polymer clay pendants but here are a few heart themed ones.  (For these I used Fimo effect marble and granite clays and fimo soft black and Indian red)

I thought the joining of the different colours would be quite difficult, but as long as you are very methodical about what you are doing it worked out pretty well.  TIP: I might have been doing something wrong but an idea I had was to use cling film between the layers of clay when cutting 2 different colours which you want to join together, this is so they don’t stick together and the colours don’t leach, it worked for me!  Also, did you know that if you put cling film over clay when cutting out a shape with a cutter it will give it a nice beveled edge rather than straight sides.

Here are few extra hand molded pendants I made with the leftover clay.

And lastly a heart pendant I made with a mix of rainbow colours (scraps and leftover clay) which I put through an extruder then created this heart pendant (I also made buttons with this design).

P1140450

Polymer clay rainbow heart pendant


HANGING HEARTS

P1140492

I love making these and they can be so simple to make if you have the right equipment (a good size heart cutter and some alphabet stamps).  I do however like playing around with the texturing, inks and stamp decoration to create a different one every time.  I hardly ever make the same design twice.  I also made some nice boxes to put them in so they would make good gifts. (If you want to see my box making tutorial click HERE.)


KEY RING/BAG CHARMS

P1140518

Making these key ring/bag charms is a bit of a favourite of mine, I’m always trying to think up new designs or I use ideas I’ve seen on Pinterest and then try to make them my own.

BUTTONS

I have a few friends who do lots of knitting, so I like making unique buttons just for them.  They are so easy to make too if you keep it simple and there is no problem with them being washed etc, as they are very durable.

Here are a few ideas for  ‘Valentine’ themed buttons I’ve made.


BROOCHES

Polymer clay cat brooches

I have a friend who is mad about cats, in the past I’ve made her cat earrings, a necklace and incorporated cat charms in bracelets etc.  So these cat brooches are inspired by her.  The names on each of them just popped into my head as I was making them, I think they all suit their names, don’t you?  I used Ranger Perfect pearls on some of them, then coated them in Fimo liquid get to set it after baking and set that with a heat gun.

That’s all for now, if you want more details or any tutorials on how to make anything above, just let me know.

Thanks for looking, I would love to hear what you think and if any of them inspired you?

Georgia P

POLYMER CLAY MOKUME-GANE TUTORIAL No. 1

I’ve been exploring lots of new techniques with polymer clay over the last few months and I promise I will write a few more simple tutorials to show you how to create some of my favourites.  

This one creates the faux technique Mokume-Gane which is known for its distinctive layered look. There are 2 techniques I favour, here is the first a simple technique if you want to create the effect but don’t have many colours of clay. I found this technique thanks to Pink Lily, here is the link HERE if you would like to take a look.  Also, using the inks allows you to experiment with colour, you will see below how they change!  They also change again once you have baked your clay.

I apologise now for some of the photographs, the natural lighting in our British Autumn/Winter  is rubbish! 

Technique No. 1 ~ Mokume-Gane created with Alcohol Inks

Polymer Clay faux Mokume-Gane (34)

Materials

Translucent Polymer Clay (whichever brand you prefer, however, I use Fimo Soft)

White Polymer clay

3- 4 colours of Alcohol Inks of your choice (I use Tim Holtz Adirondack inks)

Gold/Silver foil/leaf metal

Cling film or something similar

Pasta Machine and Roller for rolling out the clay

Cutting blade

Method

1. Take about 20g (or approx a third of a 50g block depending how much you want to make) of the translucent clay and soften and roll into a flattened sausage and then put through the pasta machine on a medium setting (No. 3), don’t worry about neatening the ends.

2. Using the alcohol inks draw horizontal lines across the clay, try not to let the lines touch or the colours will bleed into each other as they don’t always mix well together and tend to turn a muddy brown, however, you might like this affect. (I used alcohol inks; Meadow, Purple Twilight, Sunset Orange and Red Pepper)

Polymer Clay faux Mokume-Gane (6)

3.  Allow to dry or if you are impatient like me, blot with a paper towel.

Polymer Clay faux Mokume-Gane (7)

4.  Once dry, fold the clay over lengthwise, so the colours are on the inside and then put through the pasta machine, keep on a medium setting (No. 3).  Fold and repeat this 3-4 times.

5.  Now cover one side with the leaf metal.

6.  Then you need to roll this up as tight as possible with the leaf metal on the inside.

Polymer Clay faux Mokume-Gane (13)

7.  Ensuring that the clay is still warm or it will break and crack, fold this round into a donut shape, make sure the ends meld together well.

Polymer Clay faux Mokume-Gane (14)

8. Now squash it down but not too heavily, ie. don’t flatten it, onto your surface, making sure the melded ends are on the bottom.

9.  Taking your sharp blade cut thin slices (approx 3mm thick) from the top.

Polymer Clay faux Mokume-Gane (17)

10.  Pass each of these separately through your pasta machine (no. 4), this will crack the leaf metal. Leave to one side.

Polymer Clay faux Mokume-Gane (19)

11.  Take the white clay and roll/put through a pasta machine (No. 1) so it is quite thick.  You now need to place the slices of clay on top of this ensuring there are no gaps.

Polymer Clay faux Mokume-Gane (21)

12.  Once you have done this, cover with good quality cling film or something similar, press down with the end of the roller and then roll to smooth out, then pass this through your pasta machine (No. 1) to ensure it is all the same thickness.  Remove the cling film.

13. Now you can make your beads. pendants or whatever you want. 🙂 I’ve used a 3.5cm round cutter here to create some circle beads.

14.  Once you have created all your beads or shapes (make sure you put holes in them), bake as per your clay instructions and then allow to cool.  You will see that the colours have changed and become more vibrant.  You can now leave them as they are or finish them with gloss varnish or liquid gel.

TIP: I baked my circles on an old light bulb to create a slightly domed bead, place the circles on the light bulb and press down gently to ensure no gaps then gently press down around the edges. 

Polymer Clay faux Mokume-Gane (34)

And, here’s a simple necklace I made with them.

P1140247

I hope you found this tutorial useful, if you have any questions or something is not clear enough, then please comment below.  My next post will be Technique No. 2.

Linda x

The amazing things you can make with Polymer Clay

Polymer clay eggs

Polymer clay eggs, by Kamila Herdinova

Oh! sorry it’s been a while again since I last posted, as you can probably gather I’m not someone who posts anything and everything, I tend to post only when I have something to say and now I have something to say about Polymer Clay.

I discovered polymer clay about 3 years ago, before then I didn’t even know it existed. I can’t even remember how I discovered it but I can remember my first attempt at making some beads with it, I burnt them!!! They went in the oven as lovely red and white beads and came out brown. I had read the instructions wrong on how to bake them and instead of using a cool oven I had it seriously hot, not a mistake I’ve made since, although I have had a few other disasters!

I am going to say it now, I  ♥ LOVE  ♥ Polymer Clay and I am using it more and more in my work especially as I discover more things you can do with it.  It comes in a range of basic colours but you can also blend these colours together to create many other colours.  It is very malleable and any shape can be created.  It is very durable once baked, I have a very hard porcelain tiled floor in my kitchen which I have thrown beads at, they bounce and don’t break no matter how hard I try.  They are also quite tactile and very comfy to wear as jewellery, especially if you like larger beads but don’t like things too heavy.  I am also testing how it fares in all weather conditions with some herb plant markers I have made. (I’ll keep you posted on that one).

I have also discovered that not only can you create fabulous jewellery with it, there are lots of other amazing things that have been created with polymer clay by some very talented artists.  I want to introduce you to just a sample of what I’ve seen, so you can see why I love it and why I am constantly inspired by such a simple medium.  Where I can I have put links to the artists.

So let’s start with some beautiful Polymer Clay bowls and vases:

Now some amazing Polymer Clay sculptures:


I also thought I would show that you can more or less cover anything in Polymer Clay, as you will see in this selection:

You can even cover books, I did try doing this when I did my BTEC mixed media course a couple of years ago, it was one of the items I submitted for assessment, nowhere near as good as these though!


And finally just a few bits of jewellery, made with polymer clay, but doesn’t it look like something else?


I could go on and on showing the wonderful things created with polymer clay but I will leave that for another time I think.  But if you are interested in seeing more you can always take a look at my Polymer Clay Board on Pinterest, I even have a few of my own designs on there too. http://www.pinterest.com/linda_fidler2/polymer-clay/.  There are lots to be inspired about.


Thanks for looking.

Linda x


Flowers galore!

Tulip

Have I told you yet that I have joined the WI? It is a brand new group in my local community so we are still very much finding our feet and planning what we will be doing over the next year. Already we have had a fun night decorating our own mugs to use at our meetings and yes I painted flowers!

My WI mug

Considering I had very little time to do mine, I’m quite pleased how it turned out, here are a few more that were done by the other ladies.

WI mugs

The design I did on my mug did give me some inspiration to make these, which will be bag charms as soon as I get the bag clips.  I am loving them very much and  I’m thinking if nobody else does, I have plenty bags I can hang them from. 🙂

Polymer Clay Flower Bag Charms Georgia P Designs

Here are a few more items I have been making over the last month, whilst I’ve supposedly been taking a rest from making jewellery.

Little bird bag charms:

Here are a few necklaces I’ve made with some corded polymer clay beads, Oh! and a bracelet.  I’m quite hooked on making these as they are so comfy to wear and I’m loving the colours too, especially for summer.  I can make these in any colour combination.

And lastly another flower bracelet lime green and white this time!

Polymer clay Lime green flower bead bracelet Georgia P Designs

It’s lovely and sunny here today, so I’m off out to catch up on some gardening, enjoy your week, I would love to hear your comments and your thoughts on my latest creations?  Oh! The top photo is one of my lovely tulips, they have done really well in my garden this year.

Thanks.

Linda x


Jubilee Fever!

Well that’s it, I’m sad to say I had my last BTEC mixed media lesson this week, all my work has been handed in and I will no longer know what to do with myself on a Wednesday evening!  It was actually a very interesting last lesson (meet up) as we all passed our assessment books around after our tutor had looked through them, so we could all have a look at what each of us had done.  It was amazing how we have all developed over the period of the course and have our own individual design styles and how different we had all presented the work as well, it’s surprising what you can still learn from looking at other peoples work.

The good news is we all passed and we have each been awarded a Distinction. Yeh!  🙂

So here it is the Diamond Jubilee weekend, I hope you have all got great plans for this weekend and the weather does not spoil it too much for everyone.  I went to my first Jubilee party yesterday at the Warrington Carers Centre, it was a lovely day.  I even won first prize in the raffle, I very rarely win anything in raffles!

The next Jubilee event I am going to is on Monday for the Grand opening of Dakota Park with a Jubilee celebration and picnic in the park.  Dakota Park is a new park in the middle of a new housing development/village called Chapelford in Warrington.

Also, still on the Jubilee theme, my other Blog, The Crafty Network did a mini challenge this week, with the theme ‘A touch of Royalty’.  It received an amazing response, with some exceptional patriotic entries, if your interested please pop over and see the entries and the next post along you will see the winner and runners up: A Touch of Royalty Mini Challenge Entries

Warrington is also very much in the Olympic spirit this week has the Olympic Flame passed through Warrington on Thursday 31st May.  Unfortunately I couldn’t get to see it, but a few friends have kindly posted some photos, here is just one.

Have a great Jubilee weekend and I hope enjoy the celebrations.

Linda x

Georgia P Designs ~ Spring is approaching!

Yeh! its getting lighter and a little warmer, don’t you just feel you have more energy and want to do more when the weather improves?  I certainly do.  I think Spring is one of my most favourite times of the year as I love to wander around the garden and see it coming alive again with new shoots growing on all the plants and trees.  My motivation is well and truly stirred.

This past month I have been experimenting more with the polymer clay trying out several designs on pendants, brooches and rings, which I’m really pleased with.  I also made some daisies but I’m not too happy with them, it is so important when working with white clay to work on a very clean and dust free surface and to have clean hands.  The slightest hair or speck of dust seems to be attracted to the clay.  I thought I’d done OK but after baking the daisies I have noticed one or 2 tiny tiny hairs and this really annoys me and once varnished they seem to stand out even more.  So I think this batch may get binned or used for something less important.


As usual, I have been on a little spending spree, first I treated myself to this beautiful bowl (still spending my Christmas money, honest!), handmade by Helen from Fired Contemporary Glass.  I saw it before Christmas in her portfolio book and asked her to make me one when she had the time. I went round to her house to pick it up a couple of weeks ago and I got a chance to have a look around her studio and see more of her fantastic work.  I am so pleased with it and it goes really well in my dining room.  If you are interested in seeing more of Helen’s work visit her Facebook page: https://www.facebook.com/linda.fidler2#!/FIREDCONTEMPORARYGLASS.

Also, this month I have been buying some new and different focal beads.  I am a big fan of trees and when I saw this handmade focal bead I just had to have it.  It is made by Self representing bead artist Janey Diver: (SRA H-152), who lives in the Staffordshire Moorlands.  It’s more lovely in real life, I just need now to do it justice in a necklace, any ideas?

The other item I bought is a handmade glass pendant with a frog on it, by a  hand crafted Bead artist in America based in the foothills of the beautiful Blue Ridge Mountains of Virginia (I can’t get that tune out of my head now, if you are of a cetain age you will know which one I mean!). This artist strives to create new and unique works of art and every piece is different.  I loved this and I just had to have it for myself.  It reminds me slightly of the bronze Frogman Pieces by Tim Cotterill. http://frogmancollection.com/timcotterill.html but a bit more affordable!

Thanks for your interest and have a good month.

Linda x

Finding your niche in handmade


A couple of weeks ago something happened that made me realise that if I had any intentions of progressing my hobby and making a career out of designing jewellery it would be unlikely to happen, unless I could find my own little niche in the market.

I have a friend who sells beads etc as well as jewellery and she was selling them recently at a local craft fair.  I popped down to take a look and she was doing phenonominally well selling her beads etc but not her own jewellery designs.  You see the problem is everyone thinks they can go home and make their own jewellery, some items take little skill or tools to make and can be made for a fraction of the cost. However, what they make may not last or be of good quality, but I suppose maybe that’s not what is important to them.

Also, whilst I was there I met and got talking to a lovely lady I hadn’t met before but knew through some comments she had made through The Crafty Network.  Whilst I was talking to her, her daughter was looking through my friends jewellery, when she had finished looking she turned to me and showed me the bracelet she was already wearing, a chunky silver chain bracelet full of enamel charms and said I got this for £1 from Primark!!!

Wow, I suddenly realised no matter how many arguments you can put across about quality, child labour, mass market etc etc, at the end of the day, kids/parents/young adults only want to pay a small amount for something that will be thrown away/out of fashion a month or so later.

This made me come to the conclusion that if I was to continue with jewellery making and try to turn it into a business, then I would really have to work out who my target market would be and make and price items accordingly.

So if I or anyone else has aspirations of turning a hobby into a profitable business, my advice to myself and others would be to work out your unique selling point, design products that will help you find your niche in that big worldwide market. Price them well for your chosen market and if they take time and skill to make and it’s all handmade do not whatever you do under sell yourself, price accordingly.   If you find your niche, whatever it is, market it well and hopefully the buyers will find you and you will then have yourself a successful little business.

Bye for now.

Linda x