
I’ve been exploring lots of new techniques with polymer clay over the last few months and I promise I will write a few more simple tutorials to show you how to create some of my favourites.
This one creates the faux technique Mokume-Gane which is known for its distinctive layered look. There are 2 techniques I favour, here is the first a simple technique if you want to create the effect but don’t have many colours of clay. I found this technique thanks to Pink Lily, here is the link HERE if you would like to take a look. Also, using the inks allows you to experiment with colour, you will see below how they change! They also change again once you have baked your clay.
I apologise now for some of the photographs, the natural lighting in our British Autumn/Winter is rubbish!
Technique No. 1 ~ Mokume-Gane created with Alcohol Inks

Materials
Translucent Polymer Clay (whichever brand you prefer, however, I use Fimo Soft)
White Polymer clay
3- 4 colours of Alcohol Inks of your choice (I use Tim Holtz Adirondack inks)
Gold/Silver foil/leaf metal
Cling film or something similar
Pasta Machine and Roller for rolling out the clay
Cutting blade
Method
1. Take about 20g (or approx a third of a 50g block depending how much you want to make) of the translucent clay and soften and roll into a flattened sausage and then put through the pasta machine on a medium setting (No. 3), don’t worry about neatening the ends.
")
")
2. Using the alcohol inks draw horizontal lines across the clay, try not to let the lines touch or the colours will bleed into each other as they don’t always mix well together and tend to turn a muddy brown, however, you might like this affect. (I used alcohol inks; Meadow, Purple Twilight, Sunset Orange and Red Pepper)
3. Allow to dry or if you are impatient like me, blot with a paper towel.
4. Once dry, fold the clay over lengthwise, so the colours are on the inside and then put through the pasta machine, keep on a medium setting (No. 3). Fold and repeat this 3-4 times.
")
")
")
5. Now cover one side with the leaf metal.
")
")
6. Then you need to roll this up as tight as possible with the leaf metal on the inside.
7. Ensuring that the clay is still warm or it will break and crack, fold this round into a donut shape, make sure the ends meld together well.

8. Now squash it down but not too heavily, ie. don’t flatten it, onto your surface, making sure the melded ends are on the bottom.
")
")
9. Taking your sharp blade cut thin slices (approx 3mm thick) from the top.

10. Pass each of these separately through your pasta machine (no. 4), this will crack the leaf metal. Leave to one side.
11. Take the white clay and roll/put through a pasta machine (No. 1) so it is quite thick. You now need to place the slices of clay on top of this ensuring there are no gaps.
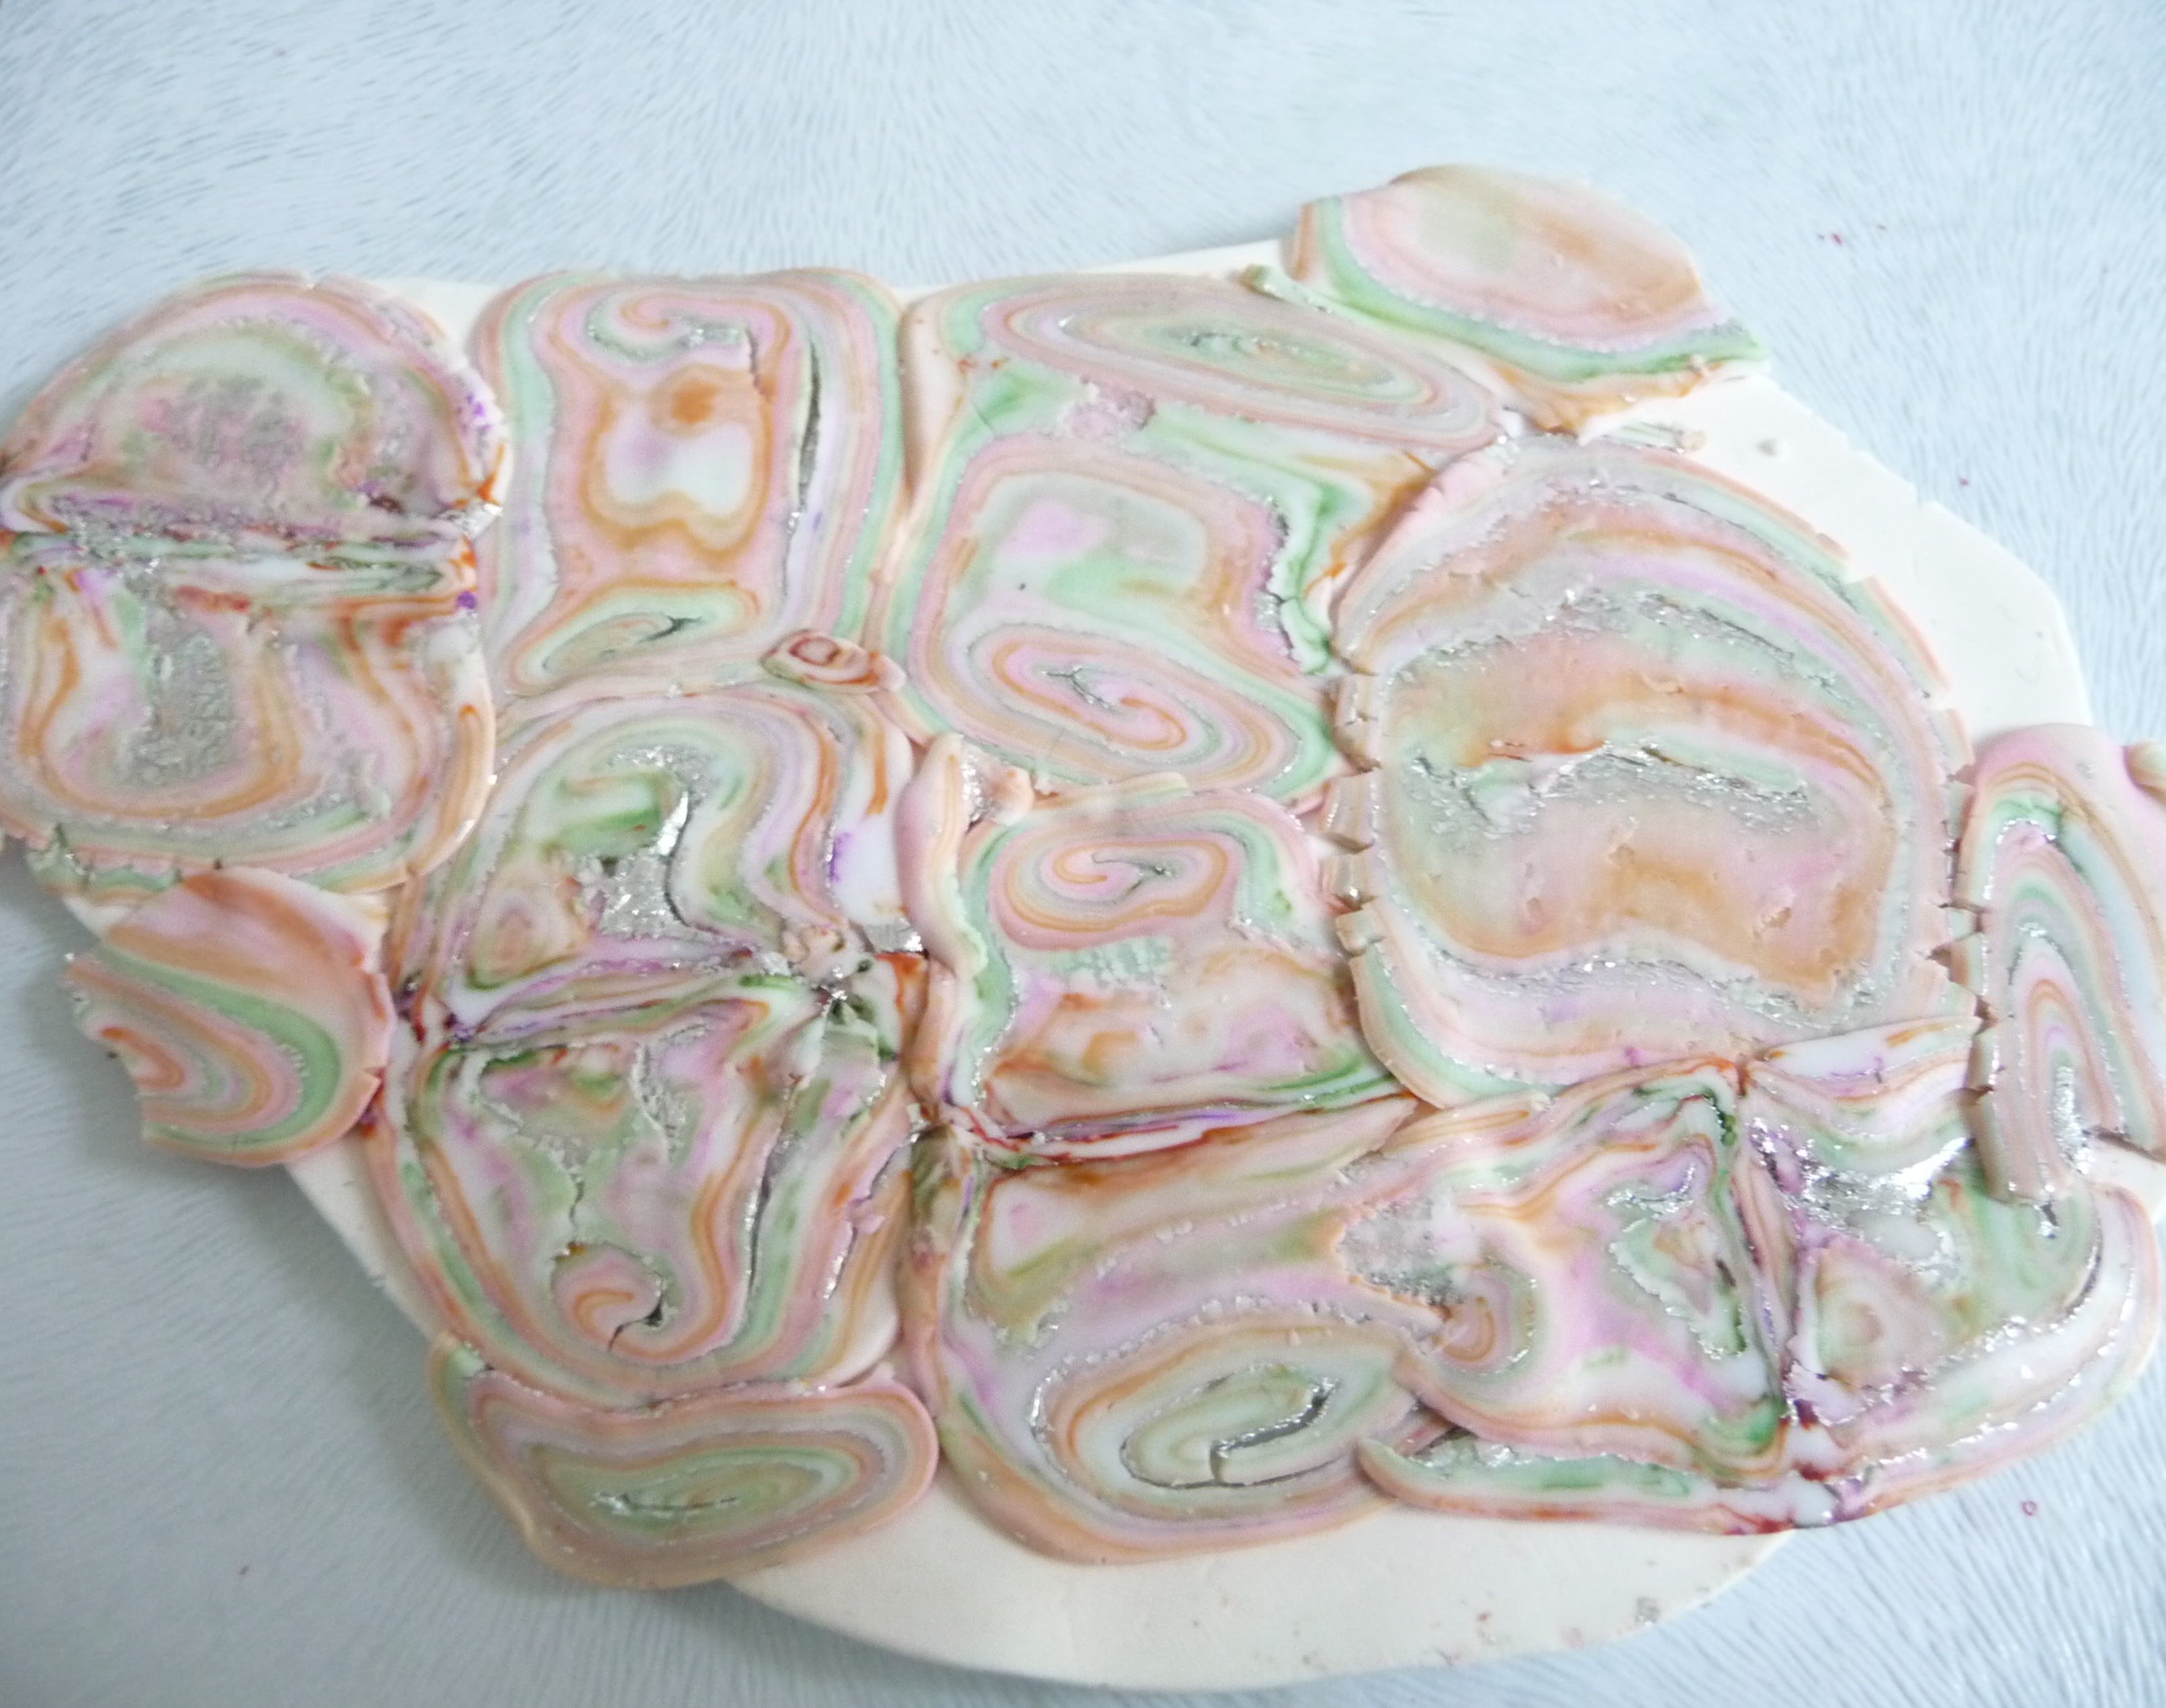
12. Once you have done this, cover with good quality cling film or something similar, press down with the end of the roller and then roll to smooth out, then pass this through your pasta machine (No. 1) to ensure it is all the same thickness. Remove the cling film.
")
")
13. Now you can make your beads. pendants or whatever you want. 🙂 I’ve used a 3.5cm round cutter here to create some circle beads.
")

14. Once you have created all your beads or shapes (make sure you put holes in them), bake as per your clay instructions and then allow to cool. You will see that the colours have changed and become more vibrant. You can now leave them as they are or finish them with gloss varnish or liquid gel.
TIP: I baked my circles on an old light bulb to create a slightly domed bead, place the circles on the light bulb and press down gently to ensure no gaps then gently press down around the edges.
And, here’s a simple necklace I made with them.

I hope you found this tutorial useful, if you have any questions or something is not clear enough, then please comment below. My next post will be Technique No. 2.
Linda x

Good work!
Thank you Sarah. Lx
would you credit and link Sandrine Arevalo (Pinklily) on this technique? She posted a free tutorial a couple of years ago.
Thank you for the reminder, I do normally credit someone but in this instance I totally forgot as I have been using the technique for quite a while. I have now amended my post and included the original link to the Pink Lily Blog. Lx
Hello
I would like to inform you that you have invented anything, and this tutorial is pure a free tutorial from the “fantasies of Pinklily” reproduction, French designer. Thank you for making corrections in your text, for the sake of his generosity.
http://pinklily.canalblog.com/archives/2014/02/26/29298380.html
Thank you for the reminder and pointing out my error, I do normally credit someone but in this instance I totally forgot as I have been using the technique for quite a while. I have now amended my post and included the original link to the Pink Lily Blog. Lx
Your work is beautiful, congrats ! I’m flattered to have been an inspiration for you. I just regret that you forgot to put my link.
Good continuation 😉 !
Sandrine Arevalo Zamora, from: Les fantasies de Pïnklily
http://pinklily.canalblog.com/archives/2014/02/26/29298380.html
My apologies, I did forget! I have now mentioned you and included your link. Lx
Thank you very much, Georgia ! 🙂 It’s very kind of you ♥
xoxoxo
I’m very interested in trying out polymer clay. But not wanting to invest in a pasta machine until I’m sure it is what I want to do. Any suggestions?
Hi, it was a while before I bought myself a pasta machine, you can manage fine with an acrylic (craft) rolling pin, it does take more effort but it works fine. Also, the first pasta machine I bought was from ebay, I didn’t pay that much for it and I was also lucky enough to buy a good quality one very cheaply from a charity shop, you just have to be patient. Good luck.
Thanks so much for sharing this new technique (to me anyway)!
Pingback: Mokume Gane Variants – Polymer Clay
Pingback: Mokume Gane Variants | It's Handmade
What a very nice person you are to share your lovely technique. I really appreciate it and I applaud your generosity. You could easily charge for this tutorial.
Thank you, but I can’t take credit for the original technique as this was done by Pinky Lily which was in French, whom I mentioned and credited at the beginning of my post. I just re-created it in English so it was easier to follow. x
This is an unusual and interesting technique. Thanks so much for sharing it.